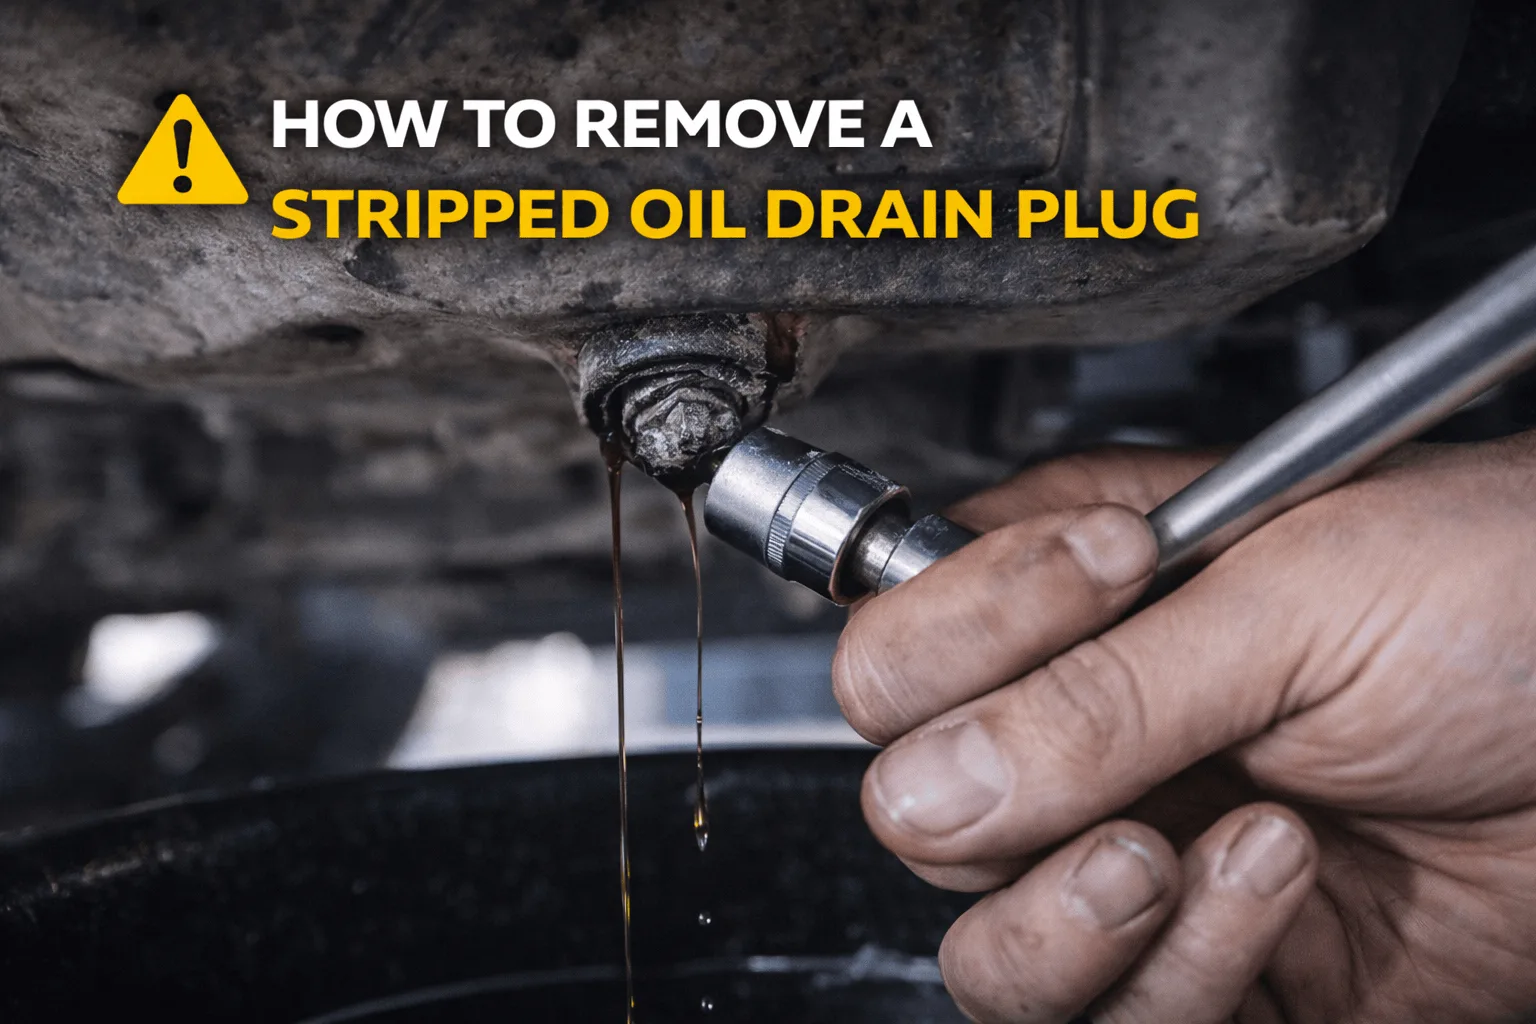
A stripped oil drain plug turns a routine oil change into a delicate repair situation. When the plug spins without loosening or tightening properly, it usually means the threads in the plug, the oil pan, or both have been damaged. At that point, forcing the plug can make the problem significantly worse, leading to oil pan replacement or costly repairs.
This issue often leaves people unsure how to proceed. Applying more force feels risky, but leaving the plug in place isn’t an option either. Because the oil pan is typically made of soft metal, the wrong removal method can permanently damage the threads or crack the pan.
The explanation that follows outlines safe and effective ways to remove a stripped oil drain plug, starting with the least invasive options and progressing only when necessary. It also covers what to avoid, how to limit further damage, and how to decide when repair is possible versus when replacement becomes the better choice. The focus is on control, patience, and preventing a small problem from turning into a major one.
What It Means When an Oil Drain Plug Is Stripped
A stripped drain plug usually means:
- The plug spins but won’t loosen
- The threads are damaged
- The plug won’t tighten or remove properly
This can happen to the plug itself, the oil pan threads, or both.
Why Oil Drain Plugs Get Stripped in the First Place
Most stripped plugs aren’t caused by bad luck.
They usually result from:
- Over-tightening
- Cross-threading
- Using the wrong tool
- Repeated removal without care
Oil pan threads are softer than many people realize.
Why Forcing It Is the Worst Thing You Can Do
Not to pull harder.
That’s exactly what you shouldn’t do.
Forcing a stripped plug can:
- Tear remaining threads
- Crack the oil pan
- Turn a simple fix into a major repair
Patience saves money here.
How To Know the Plug is Truly Stripped
Signs that confirmed it for me:
- The plug rotated freely
- It wouldn’t back out
- Tightening didn’t seat it
- There was no resistance
Before You Try Anything: Preparation Matters
Before attempting removal:
- Make sure the car is safely supported
- Clean around the drain area
- Have a drain pan ready
- Wear eye protection
Oil will come out eventually — plan for it.
Why Cleaning the Area Helps
Cleaning removes:
- Dirt that hides thread damage
- Oil that reduces grip
- Debris that can fall into the pan
A clean surface gives you better control.
The First Thing You Try: Downward Pressure While Turning
This is the simplest method and often works.
Apply:
- Steady downward pressure
- Slow, controlled turning
Sometimes the remaining threads catch just enough to back the plug out.
Why This Works Sometimes
Even stripped threads may:
- Catch briefly
- Provide enough friction
It’s worth trying before moving to more aggressive methods.
Why Gentle Movement Beats Sudden Force
Small, controlled movements:
- Reduce thread damage
- Maintain alignment
- Prevent pan distortion
Jerky force usually makes things worse.
Trying a Slight Tighten Before Loosening
This sounds counterintuitive, but it helps.
This can:
- Re-seat damaged threads
- Restore enough grip to remove the plug
It’s a simple trick worth trying.
Using Pliers for Extra Grip (Carefully)
Key points:
- Clamp tightly on the plug head
- Keep pressure straight
- Turn slowly
This adds grip without instantly destroying the plug.
Why Grip Matters More Than Strength
Stripped plugs fail because:
- The tool slips
- The head rounds
Better grip reduces the need for brute force.
Why You Should Avoid Impact Tools
Impact tools:
- Apply sudden torque
- Shock the threads
- Crack oil pans
They turn a delicate problem into an expensive one.
Using a Flathead Screwdriver as Leverage
One trick that helped was:
- Gently prying outward on the plug
- While turning with a wrench
The outward pressure helps the threads engage just enough to back out.
Why This Method Can Work
Stripped threads often need:
- Axial pressure
- Slight alignment correction
Pulling outward helps compensate for worn threads.
Draining Oil Before Full Removal
If the plug spins but won’t come out, oil may still drain slowly.
Letting oil drain first:
- Reduces mess
- Improves visibility
- Reduces pressure on threads
Patience here makes everything easier.
When the Plug Refuses to Budge
If none of the above worked, know the situation is more serious.
At this point, you’re dealing with:
- Severely damaged threads
- A plug that won’t disengage
That’s when advanced methods come into play.
Using a Bolt Extractor Socket
A bolt extractor:
- Bites into the plug head
- Provides maximum grip
This is often the last non-destructive option.
Why Extractors Work Better Than Regular Tools
Extractor sockets:
- Dig into metal
- Prevent slipping
- Apply even force
They’re designed for damaged fasteners.
When Cutting or Drilling Is the Last Resort
In extreme cases, the plug must be:
- Cut
- Drilled
This should be done carefully and slowly.
At this stage, professional help may be wise.
Why Drilling Is Risky
Drilling risks:
- Metal shavings entering the oil pan
- Damaging internal components
This is not a beginner-friendly method.
What Happens After the Plug Comes Out
Removing the plug is only half the battle.
You must assess:
- Plug threads
- Oil pan threads
This determines the next step.
Why Inspecting Threads Is Critical
Damaged threads decide whether:
- A new plug will work
- A repair insert is needed
- The pan must be replaced
Skipping inspection leads to leaks.
Why Reinstalling a Damaged Plug Is a Bad Idea
Reusing a damaged plug:
- Causes leaks
- Risks future stripping
- Creates uncertainty
A fresh start is always better.
Temporary vs Permanent Solutions
Some fixes are temporary.
Permanent fixes focus on:
- Restoring threads
- Preventing future damage
Knowing the difference matters.
Why Torque Matters More Than Strength
Most stripped plugs are over-tightened.
Using proper torque:
- Protects threads
- Ensures a proper seal
- Prevents repeat failure
Tight isn’t always right.
Why This Is a Common DIY Mistake
Oil changes seem simple, so people:
- Rush
- Skip torque specs
- Overtighten
The drain plug pays the price.
Why Stopping Early Saves Money
If something feels wrong:
- Stop
- Reassess
Pushing through usually costs more.
How To Handle Oil Changes Differently Now
Now you:
- Use the correct tool
- Follow torque specs
- Replace washers when needed
Small habits prevent big headaches.
Final Thoughts
If you’re dealing with a stripped oil drain plug, take a breath. From my experience, this problem feels far worse than it usually is — as long as you stay patient and methodical. Most stripped plugs can be removed without destroying the oil pan if you apply steady pressure, proper grip, and calm thinking.
The biggest mistake is forcing it. The second biggest mistake is panicking. With the right approach, you can remove a stripped drain plug safely, assess the damage honestly, and move forward without turning a routine oil change into a major repair.
Sometimes the fix isn’t about strength or tools — it’s about slowing down and letting logic guide your hands.